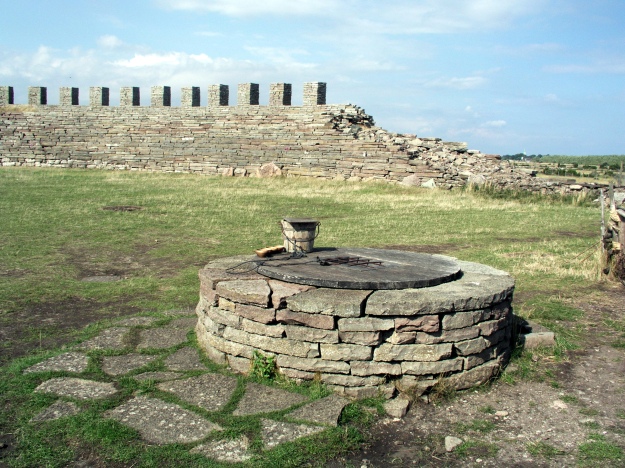
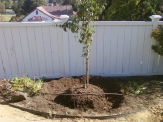
Newly planted trees need special attention, and the right steps need to be followed to ensure a great start. Upon planting the tree, it will begin extending its roots into the soil. Its crucial that it gets the right attention to thrive.
Tree are sold different ways; 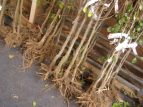
Bare-root /deciduous trees; Bare root trees look like witches broom ready for halloween, they preferably available for planting after the fall season, winter the dormant season.
Balled and burlapped trees; These trees are duged up 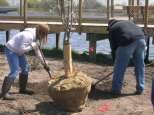 with the roots holding the soil, and wrapped up with burlap for distribution. Be careful to check for cracks or breaks in the root ball. Make sure the trunk doesn’t rock or move in the soil ball.
Container grown trees; Container grown trees are familiar plants 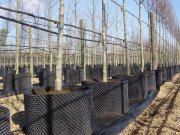 you always see at the lawn and garden retail stores. One thing to note about these trees is to check for circling or densely matted roots as it is a sign that the plant has been in the pot for to long, and will not grow very well in the soil because of the tree farmers negligence.
Once you have chosen your tree; follow these steps ensure that your tree gets everything it needs to thrive.
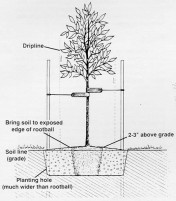
- Dig the appropriate hole; the hole should be deep enough to accommodate the roots (use a stick to determine depth) and two to three time as wide as the root ball. The soil must be loose around the trees root making it easier for the tree to sink in its roots. Slant the wall of the hoe outward and loosen them with a shovel or garden for to allow easy root penetration; if your soil is poor, mucky clay or gravel through, work compost or organic matter such as composted fir bark into the backfill soil. You can also build a raised bed that can provide a more expansive rooting area.
- Now plant the tree into the hole; Balled-root trees; these can come one of two ways – with a single, thick taproot that extends directly down from the trunk or a fibrous, branched-root system. Tap rooted trees are placed in the hole so the trees’ nursery soil line (you’ll see a color change from light to dark along the trunk) is even with the surface of the soil and the hole is filled. For fibrous rooted trees, set the base of the roots on a cone of soil in the middle of the hole, adjusting the cone height so that the plant’s nursery soil line is even with the surrounding soil. Spread the roots in different and then refill the hole.Container-grown trees: Loosen any roots that have become tangled inside the pot by spraying off the soil from the outer inch or two of the rootball. Cut off roots that are broken or permanently damaged. Balled and burlapped trees: remove the burlap, nails, and any twine or wire used for wrapping after setting the ball in place in the hole (very gently so the root ball doesn’t break). If you dont do this, the burlap, nails, and twine may interfere with future growth or strangle the trunk.
- Water the tree: to help direct irrigation and rainwater to new roots, create a soil watering basin at least 4 to 6 inches high just outside the rootball. Water the tree continuously, don’t let the soil completely dry out for six months to a year – even longer where summers are hot and dry.
- Stake and mulch; drive two tree stakes in the soil behind the root. Attached tree ties to the tree at the lowest point at which the tree stays upright. Tie loosely so the trunk can move in the wind and gain trunk strength. A tree with a strong trunk stands on its own without staking. However, if the tree was staked in the nursery or if your planting in a windy location, proper staking will help support the tree during its first years in the ground. After that, stakes must be removed.